我比较懒,不喜欢用杜邦线插来插取(避免免去插错、插不严)所以使用 ttgo-display 开发板
这款开发板自带 1.14屏幕
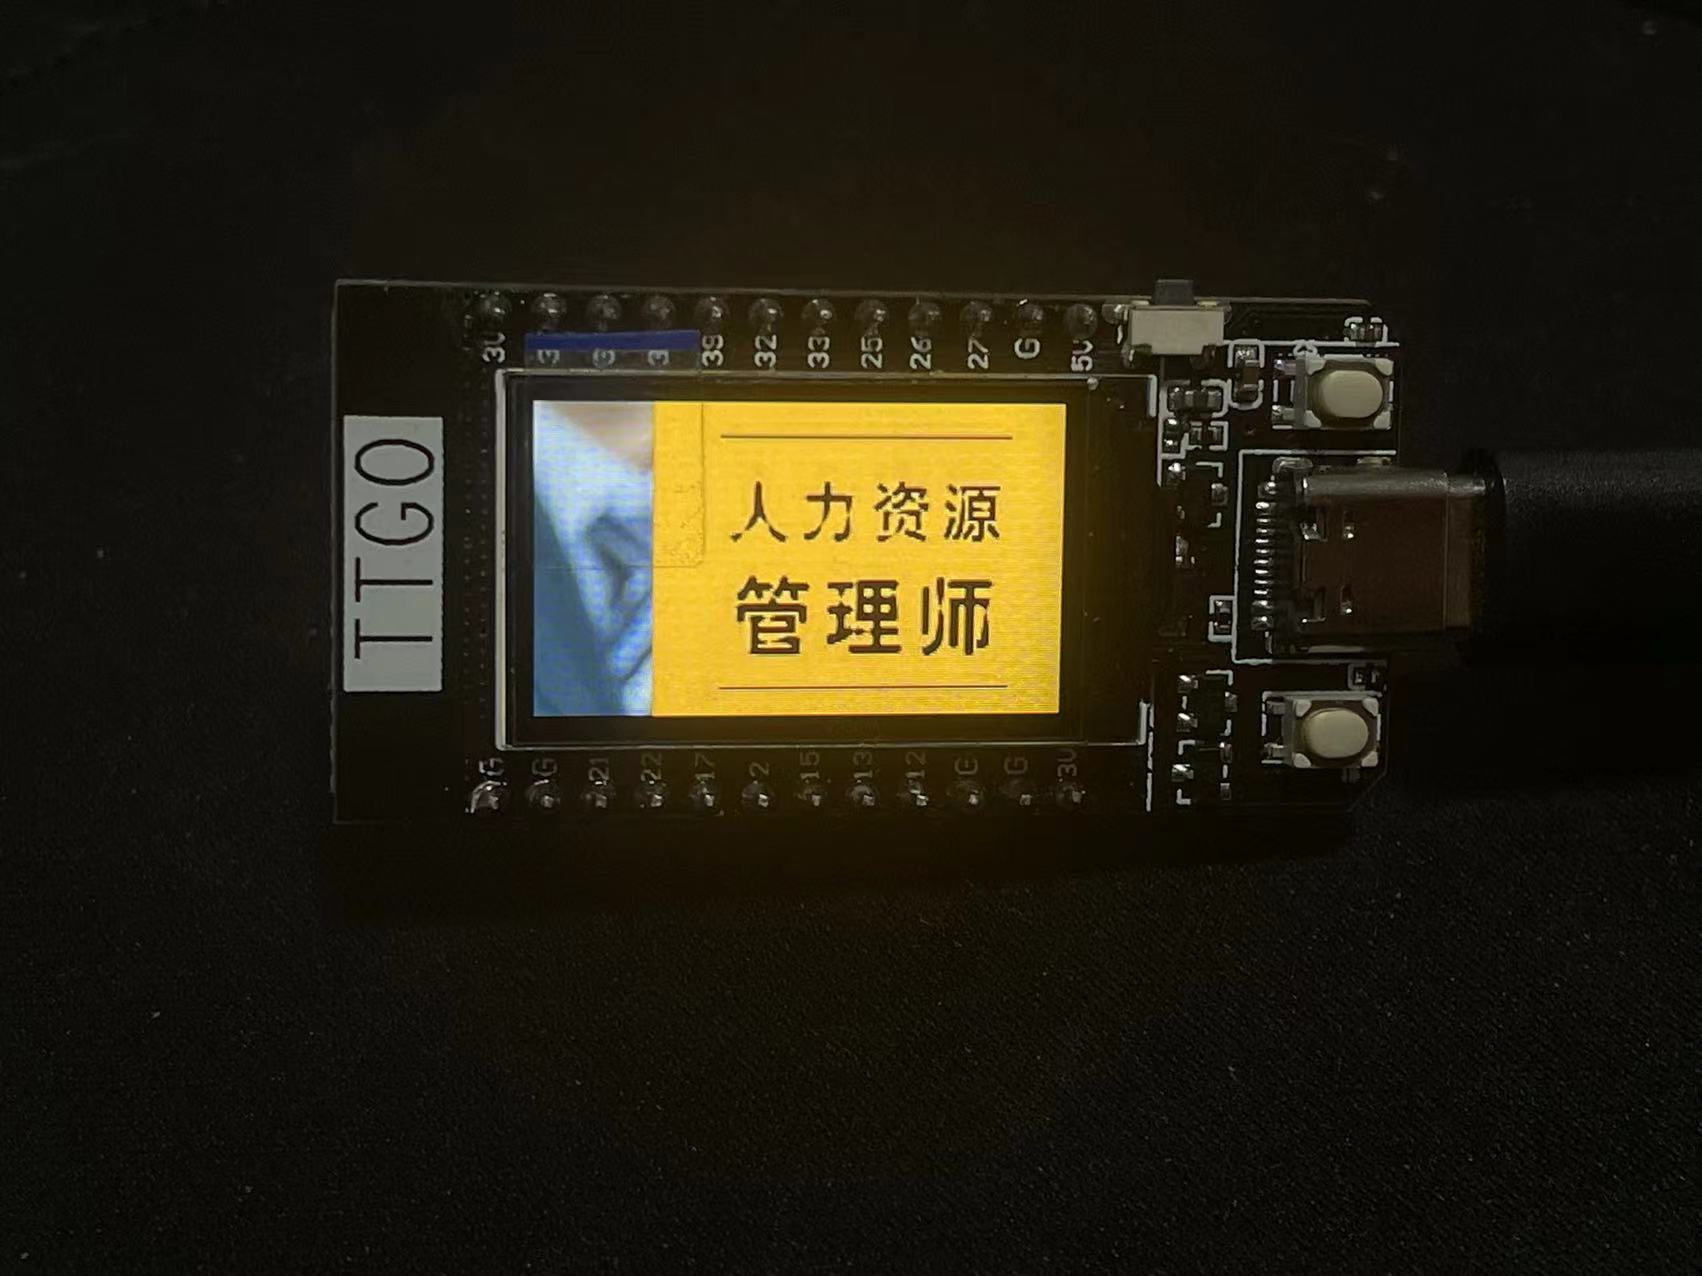
先上效果
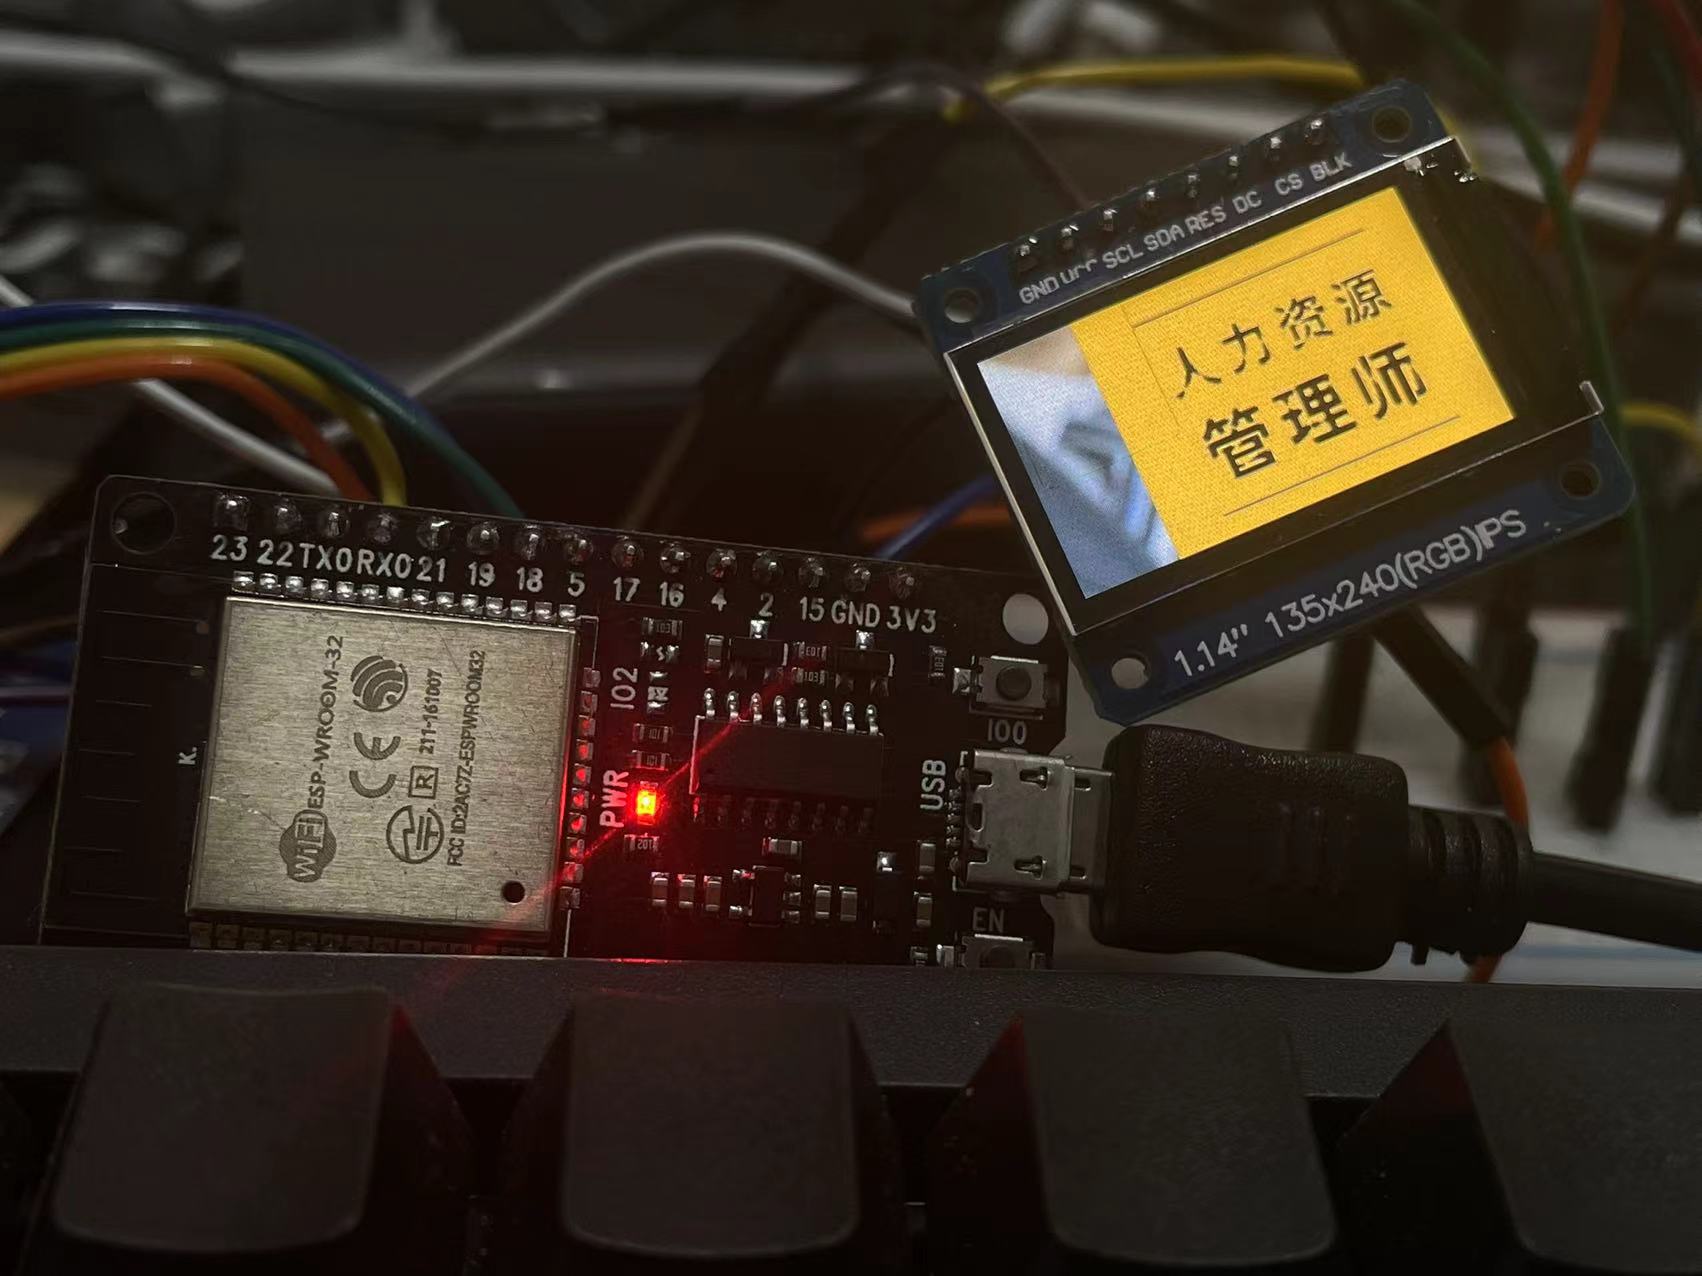
自己买个 esp32 + 1.14屏幕(主控st7789)也可以,加一块不到50, esp32接线方式
TFT_SCLK(scl)   18
TFT_MOSI(sda)   19
TFT_CS           5
TFT_DC          16
TFT_RST          23
TFT_BL           4
最新版本的库已经支持 2位十六进制数组(以前的版本之支持4位十六进制数组)
先说下取模软件,这一步很关键,取模错了,要么不显示图片,要么 esp32 无限重启
我试过这几个取模软件
lcd-image-converter(推荐 )
Image2Lcd(中文界面很好,但是他的16位真彩不兼容 TFT_eSPI, 256色可以)
ImageConverter565(转换后的代码有注释)
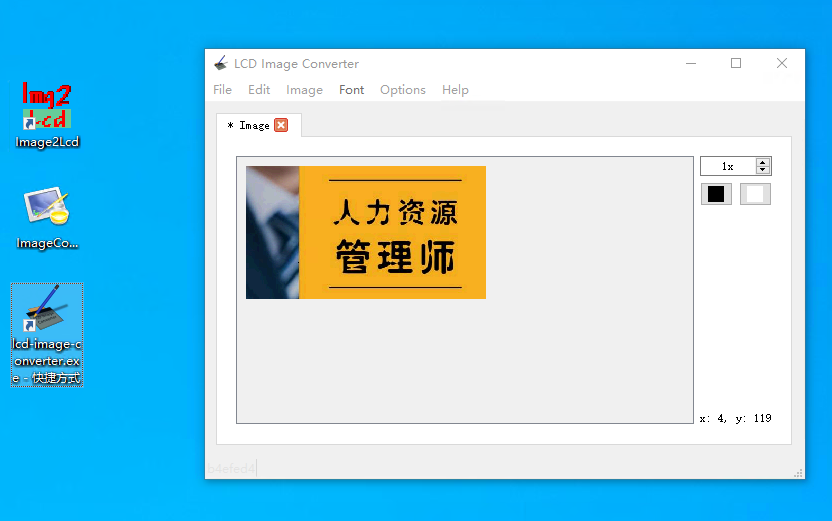
取模软件使用说明(lcd-image-converter)
1. 导入图片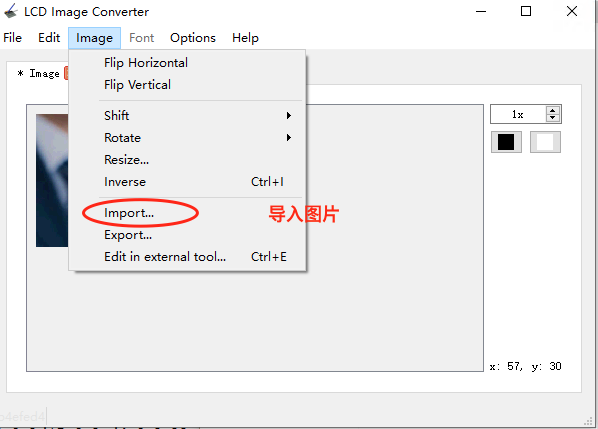
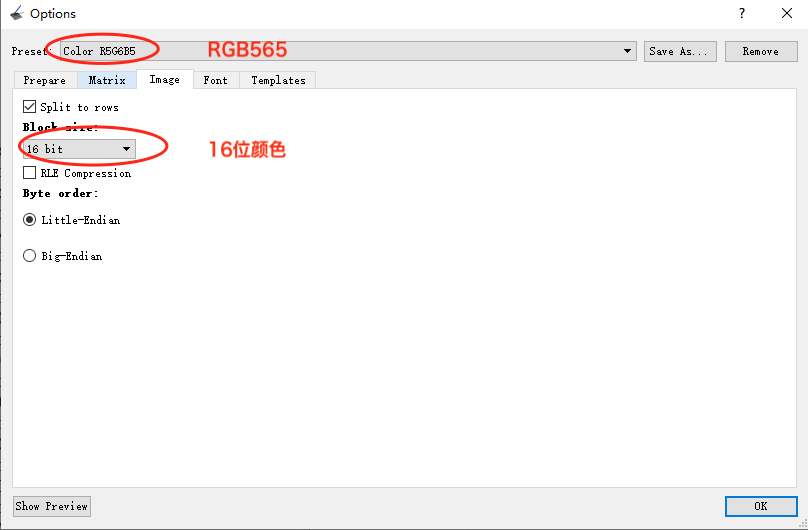
2. 设置取模参数 rgb565、16色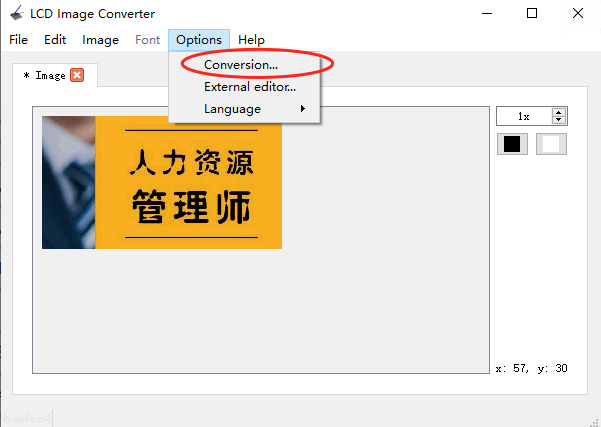
3. 转换 c 代码
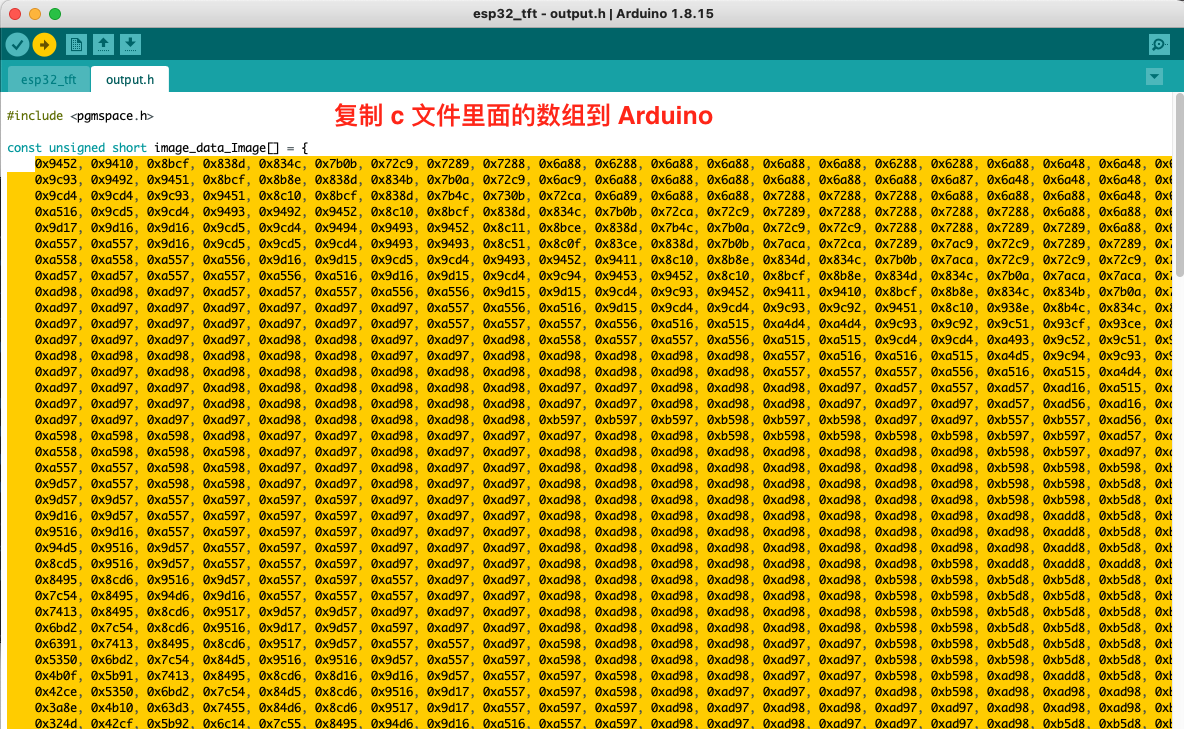
4. 复制 c 代码到 arduino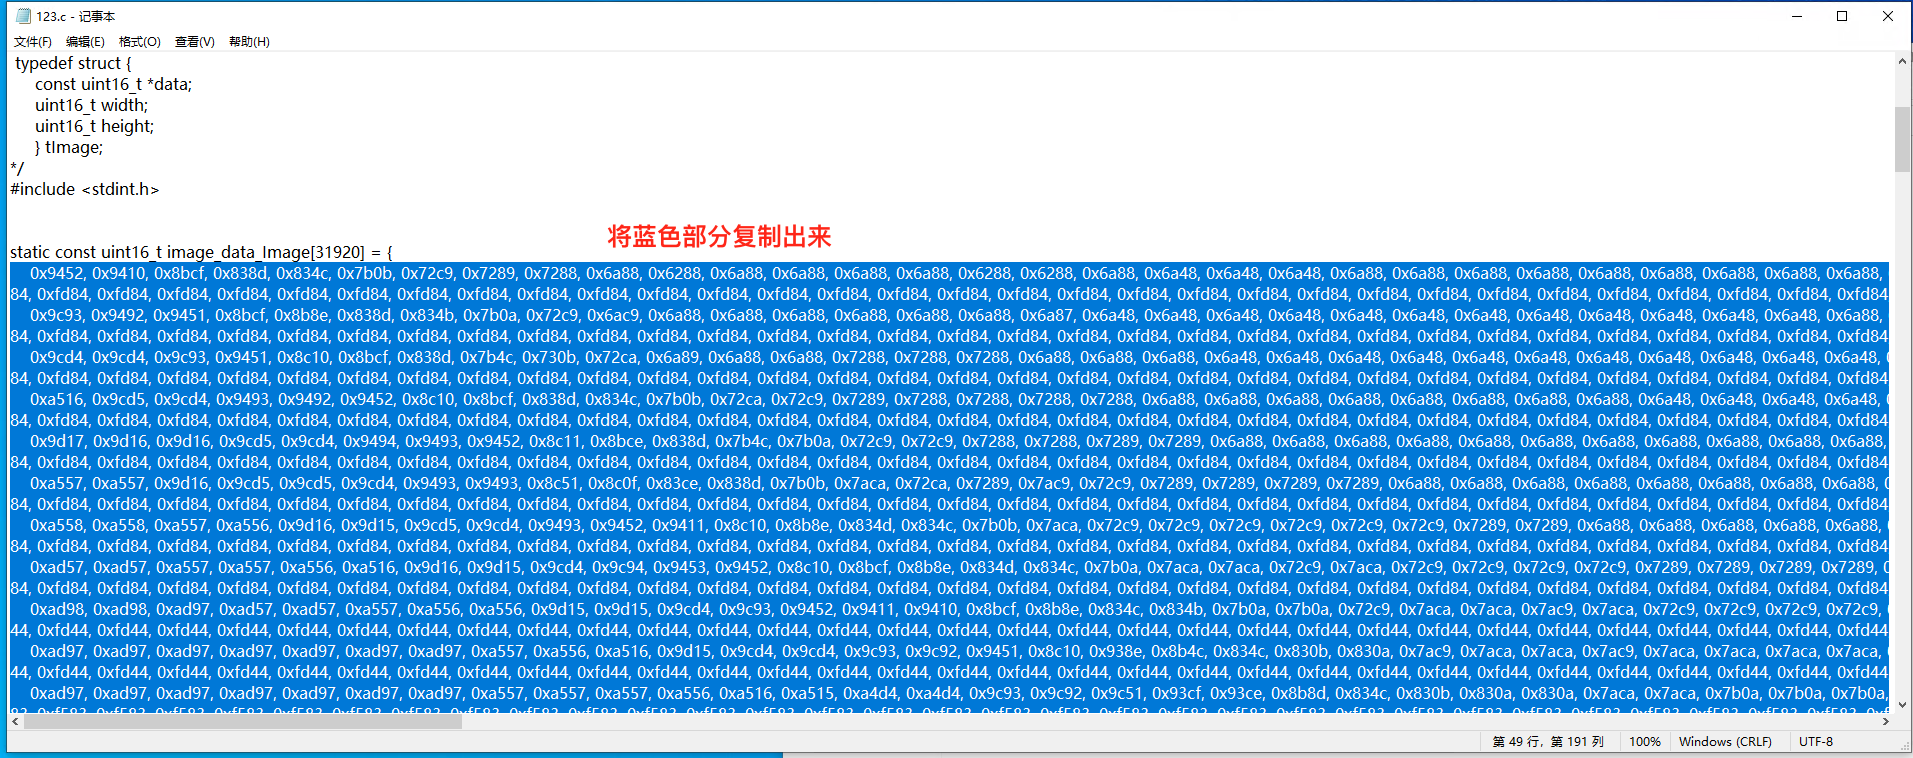
完整代码
arduino
#include <SPI.h>
#include <TFT_eSPI.h>
#include "output.h"
// 显示sprite的内容
TFT_eSPI tft = TFT_eSPI();
void setup() {
// put your setup code here, to run once:
Serial.begin(115200);
delay(500);
tft.begin();
tft.setRotation(1);//横屏135x240
tft.fillScreen(TFT_BLACK);//黑色
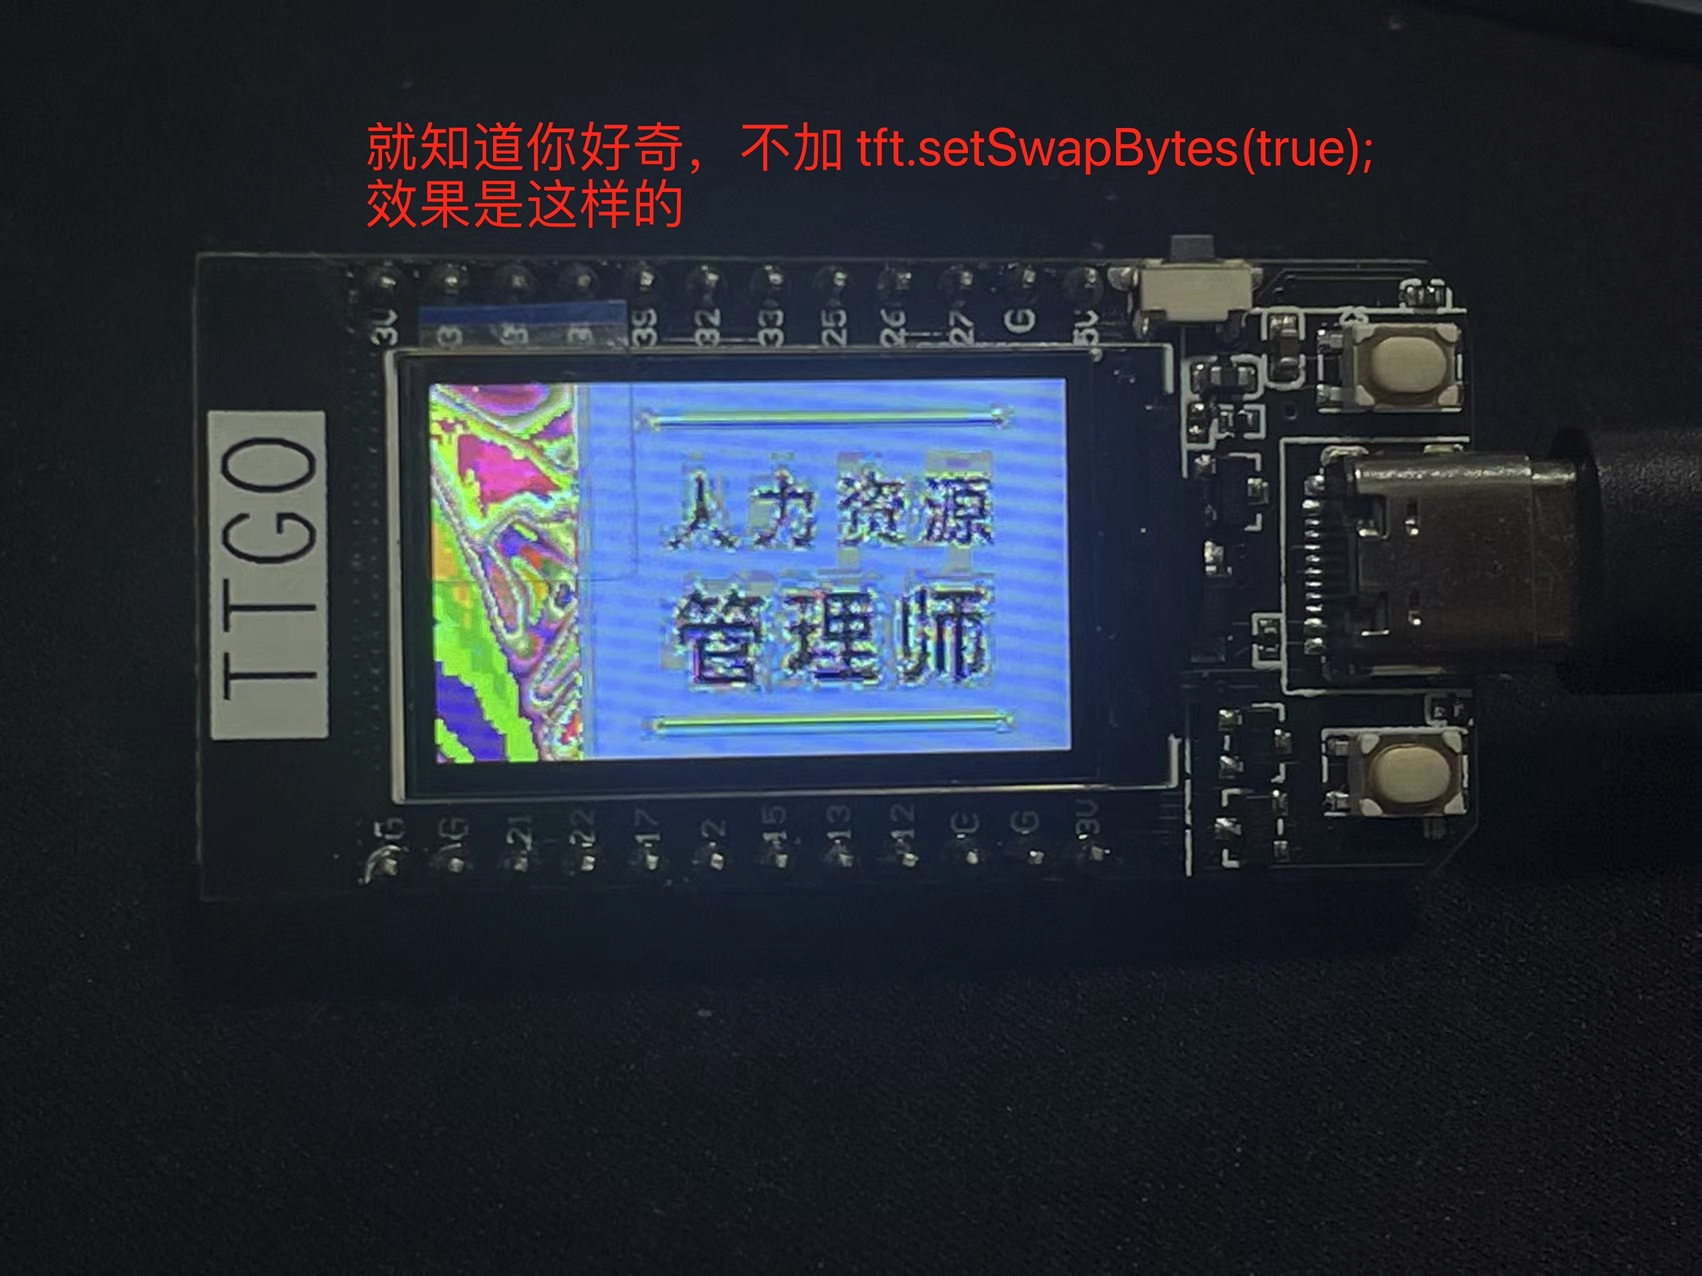
tft.setSwapBytes(true); // 这行一定要加,不然图片颜色不准
tft.pushImage(0, 0, 240, 133, image_data_Image);
}
void loop() {
// put your main code here, to run repeatedly:
}
就知道你好奇;不加 tft.setSwapBytes(true); 的效果是这样的